Mechanical Prosthetic Development with Marins, Inc.
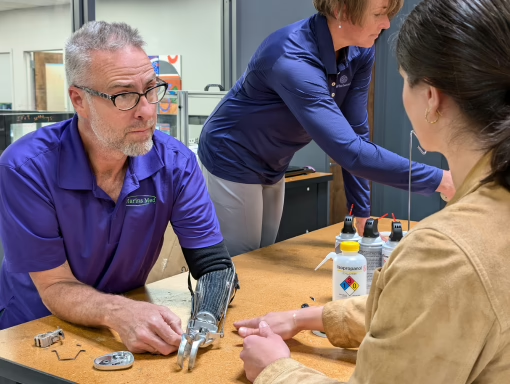
Over 80 years ago, the US Army developed a functional but fragile, fully mechanical prosthetic terminal device (TD). Those in search of a mechanical prosthetic, like Marins, Inc. CTO and Co-Founder Darryl DuBre, have had to rely on this and other outdated technology ever since. However, there is one major flaw to this technology that Darryl wanted to address.
As a fully mechanical terminal device, the prosthetic has components that rub against each other and eventually wear down over time. When a component eventually needs to be replaced users were forced to send back their entire device, but these repairs often took months to complete. For someone who depends on their prosthetic for daily life, going months without their device isn’t just a mild inconvenience – it’s life-altering.
This engineering improvement transformed a fragile but functional device into one that is durable and modular. Darryl from Marins Inc. was a user of the original Army device and had become frustrated with this major drawback. He recognized the gap in the market and set out to create a modernized mechanical prosthetic with a game-changing feature: user-swappable components that could be replaced at home with just one hand. No more down time. No more being without a critical tool for independence.
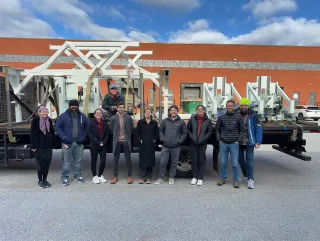
We wanted to thank Root3 Labs and specifically Christina, Conrad, Markus and Chad for their time and expertise on our project. They consistently meet our complex challenges with practical solutions and are always available for conversations. Their communication is exceptional and we look forward to continuing our work with this team.
The Challenge
When Fixing Becomes Rebuilding
When the Marins team came to us, they had already invested time and resources to get a prototype designed and built. The version of the prosthetic hand they had then looked nearly identical to the final product you see today – but despite the polished appearance, the device didn’t function.
That’s where we stepped in!
Faced with a design that wasn’t working, we had to reverse engineer this complex mechanism before we could get it functioning. A CAD model captures a lot of details, but it fails to capture design intent – a critical, but often undervalued component of design.
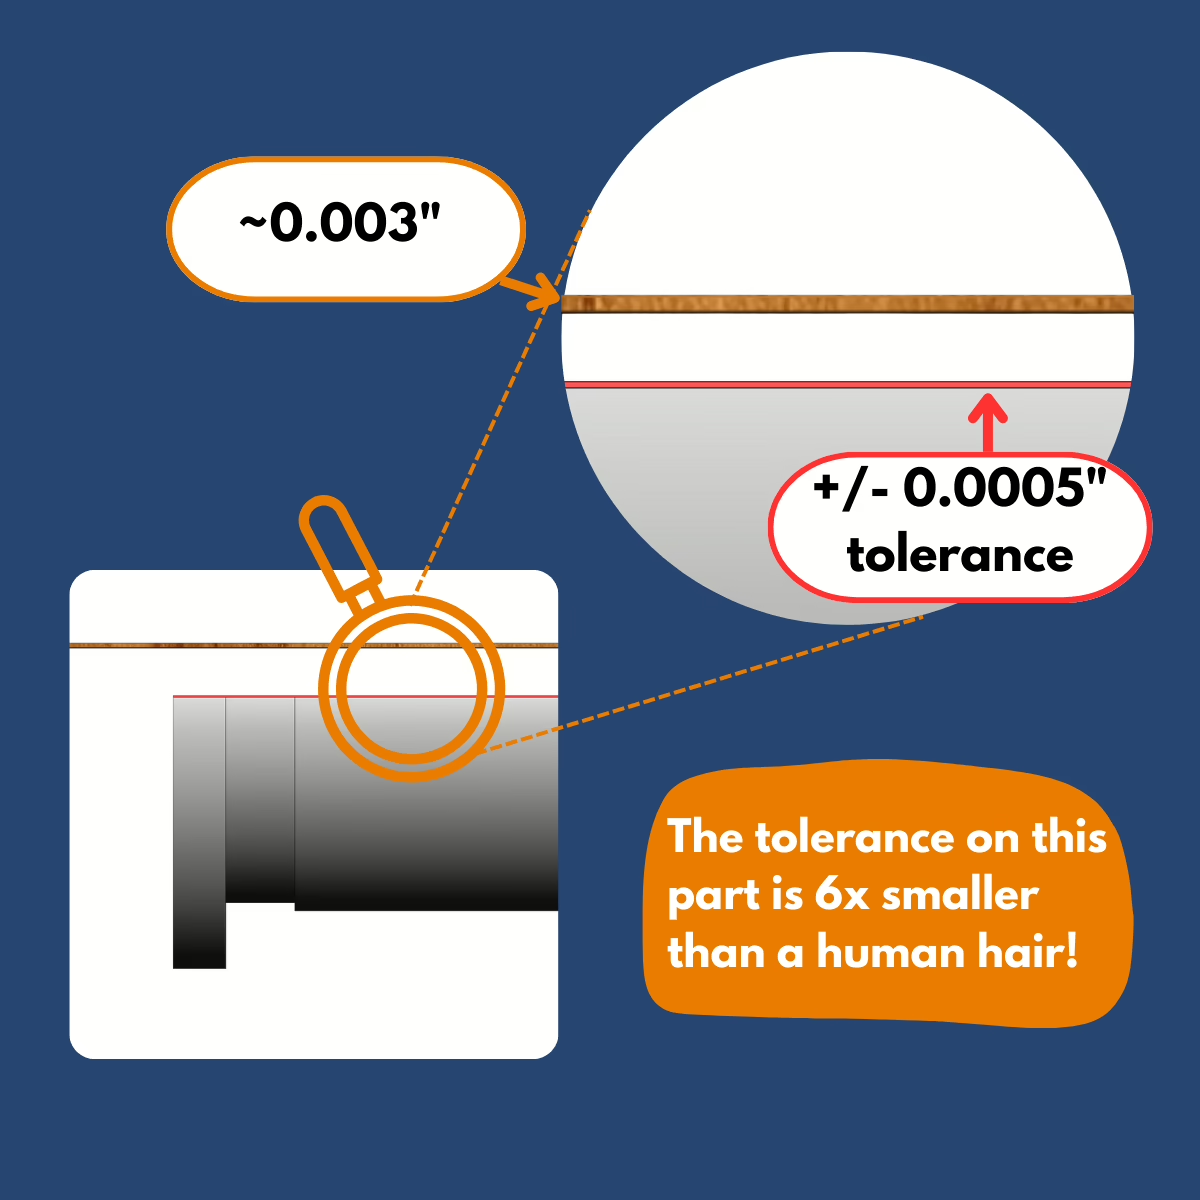
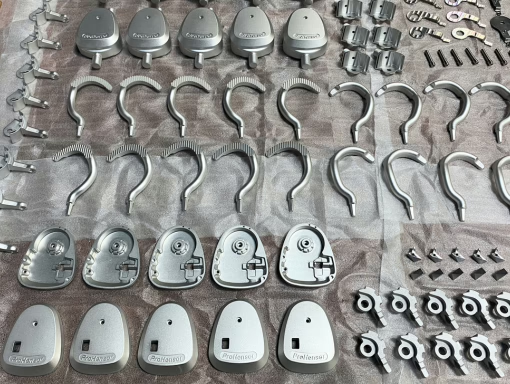
The complexity of this mechanical prosthetic device rivals that of a mechanical watch! Each individual assembly contains 31 custom components and 21 off-the-shelf parts, which adds up to 52 total components that all need to work together in perfect harmony. The mechanical interactions are intricate, with multiple moving parts engaging and disengaging in precise sequences over three different modes.
Tolerances on the most critical components would have to be maintained within +/-0.0005 inches to ensure everything functioned as intended. For reference, a human hair measures around 0.003 inches thick. These scales meant that being off by 1/6th the width of a single human hair could mean the difference between function or failure.
Adding another layer of complexity was the need to consider scaling up this design. Getting a design to function is one thing, but getting a design manufactured and functioning reliably is another.
The original parts were designed for casting, but that was deemed too expensive for the low production volume expected. With all of the design requirements in mind, we pursued precision machining for manufacturing. This method would require very tight tolerance stack-ups and collaborative vendor communication.
Tip: In mechanical prosthetic development, the difference between success and failure can be measured in less than one-thousandth of an inch!
Our Process - From Reverse Engineering to Manufacturing
Phase 1: Understanding the Unknown
The first step in our development process for this mechanical prosthetic required us to play detectives! We needed to better understand the existing design.
This required an in-depth review of the CAD model, the existing physical prototype, and the functioning Army device that inspired this design. We measured components and cross-checked them to ensure they were made to the design specifications. To better observe the complex mechanical interactions we even drilled viewing holes in the prototype so we could look through a microscope.
We mapped out the interactions, tracing how force traveled through the device, where components engaged, and where there were failure points. The goal was to better understand what was actually happening within the device versus what was supposed to be happening.
This process sounded simple up front, but design intent can be difficult to unpack indirectly. Chamfers, slots, bosses, unique profiles, dependent interactions – some features can look superficial but end up being critical to the design function.
Our engineering team then created our own detailed CAD models from the physical parts, rebuilding with the knowledge gained from the original prototype device Darryl came to us with. This digital foundation would prove crucial for the iterative improvements to come.
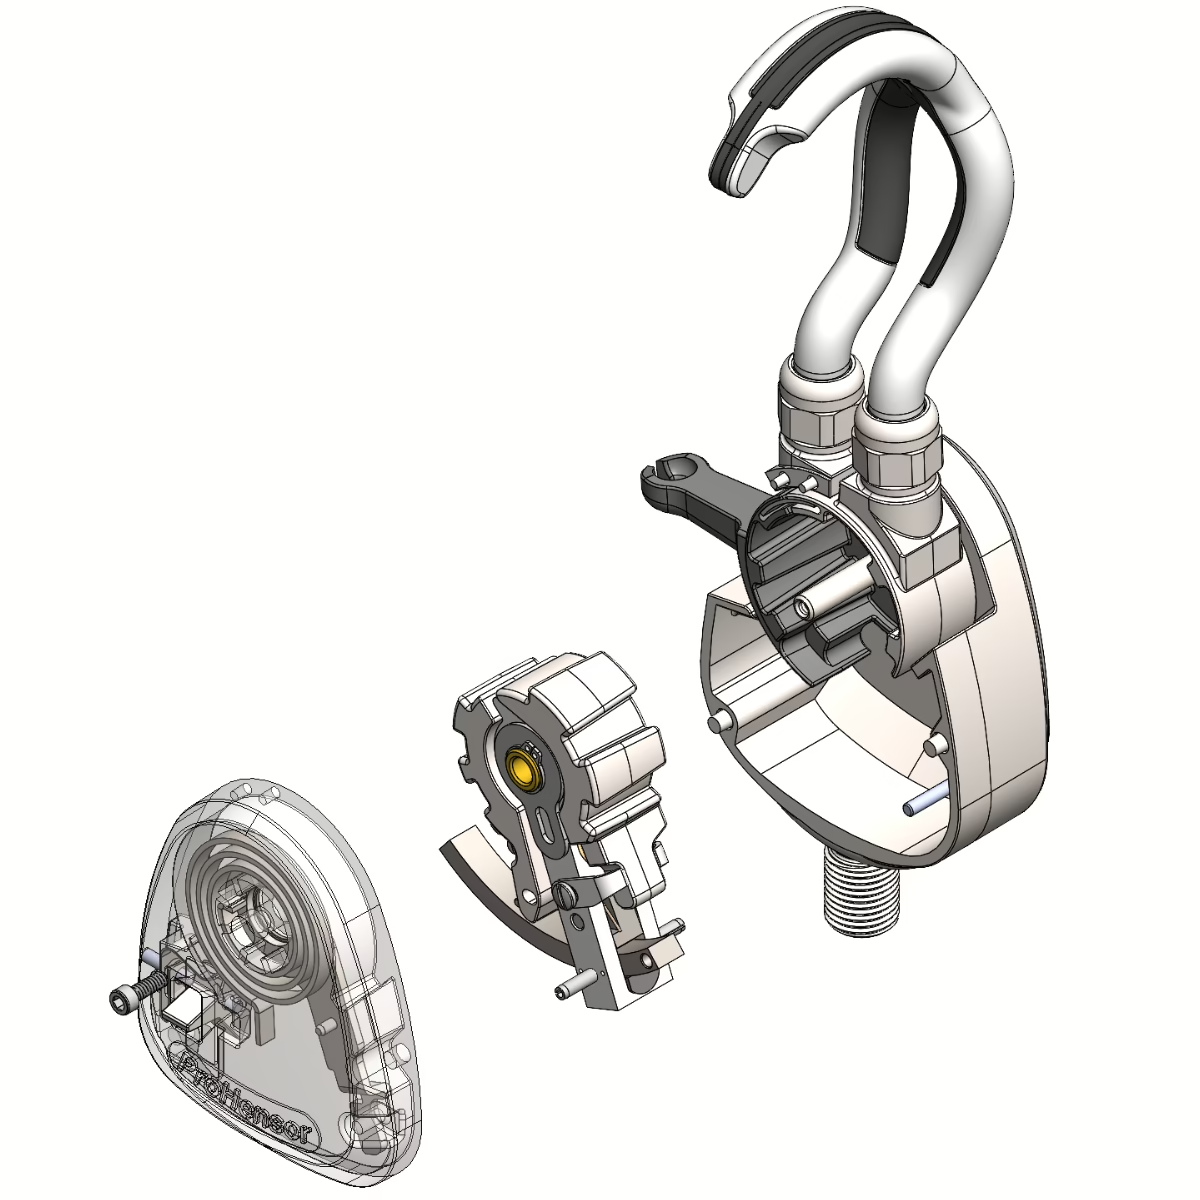
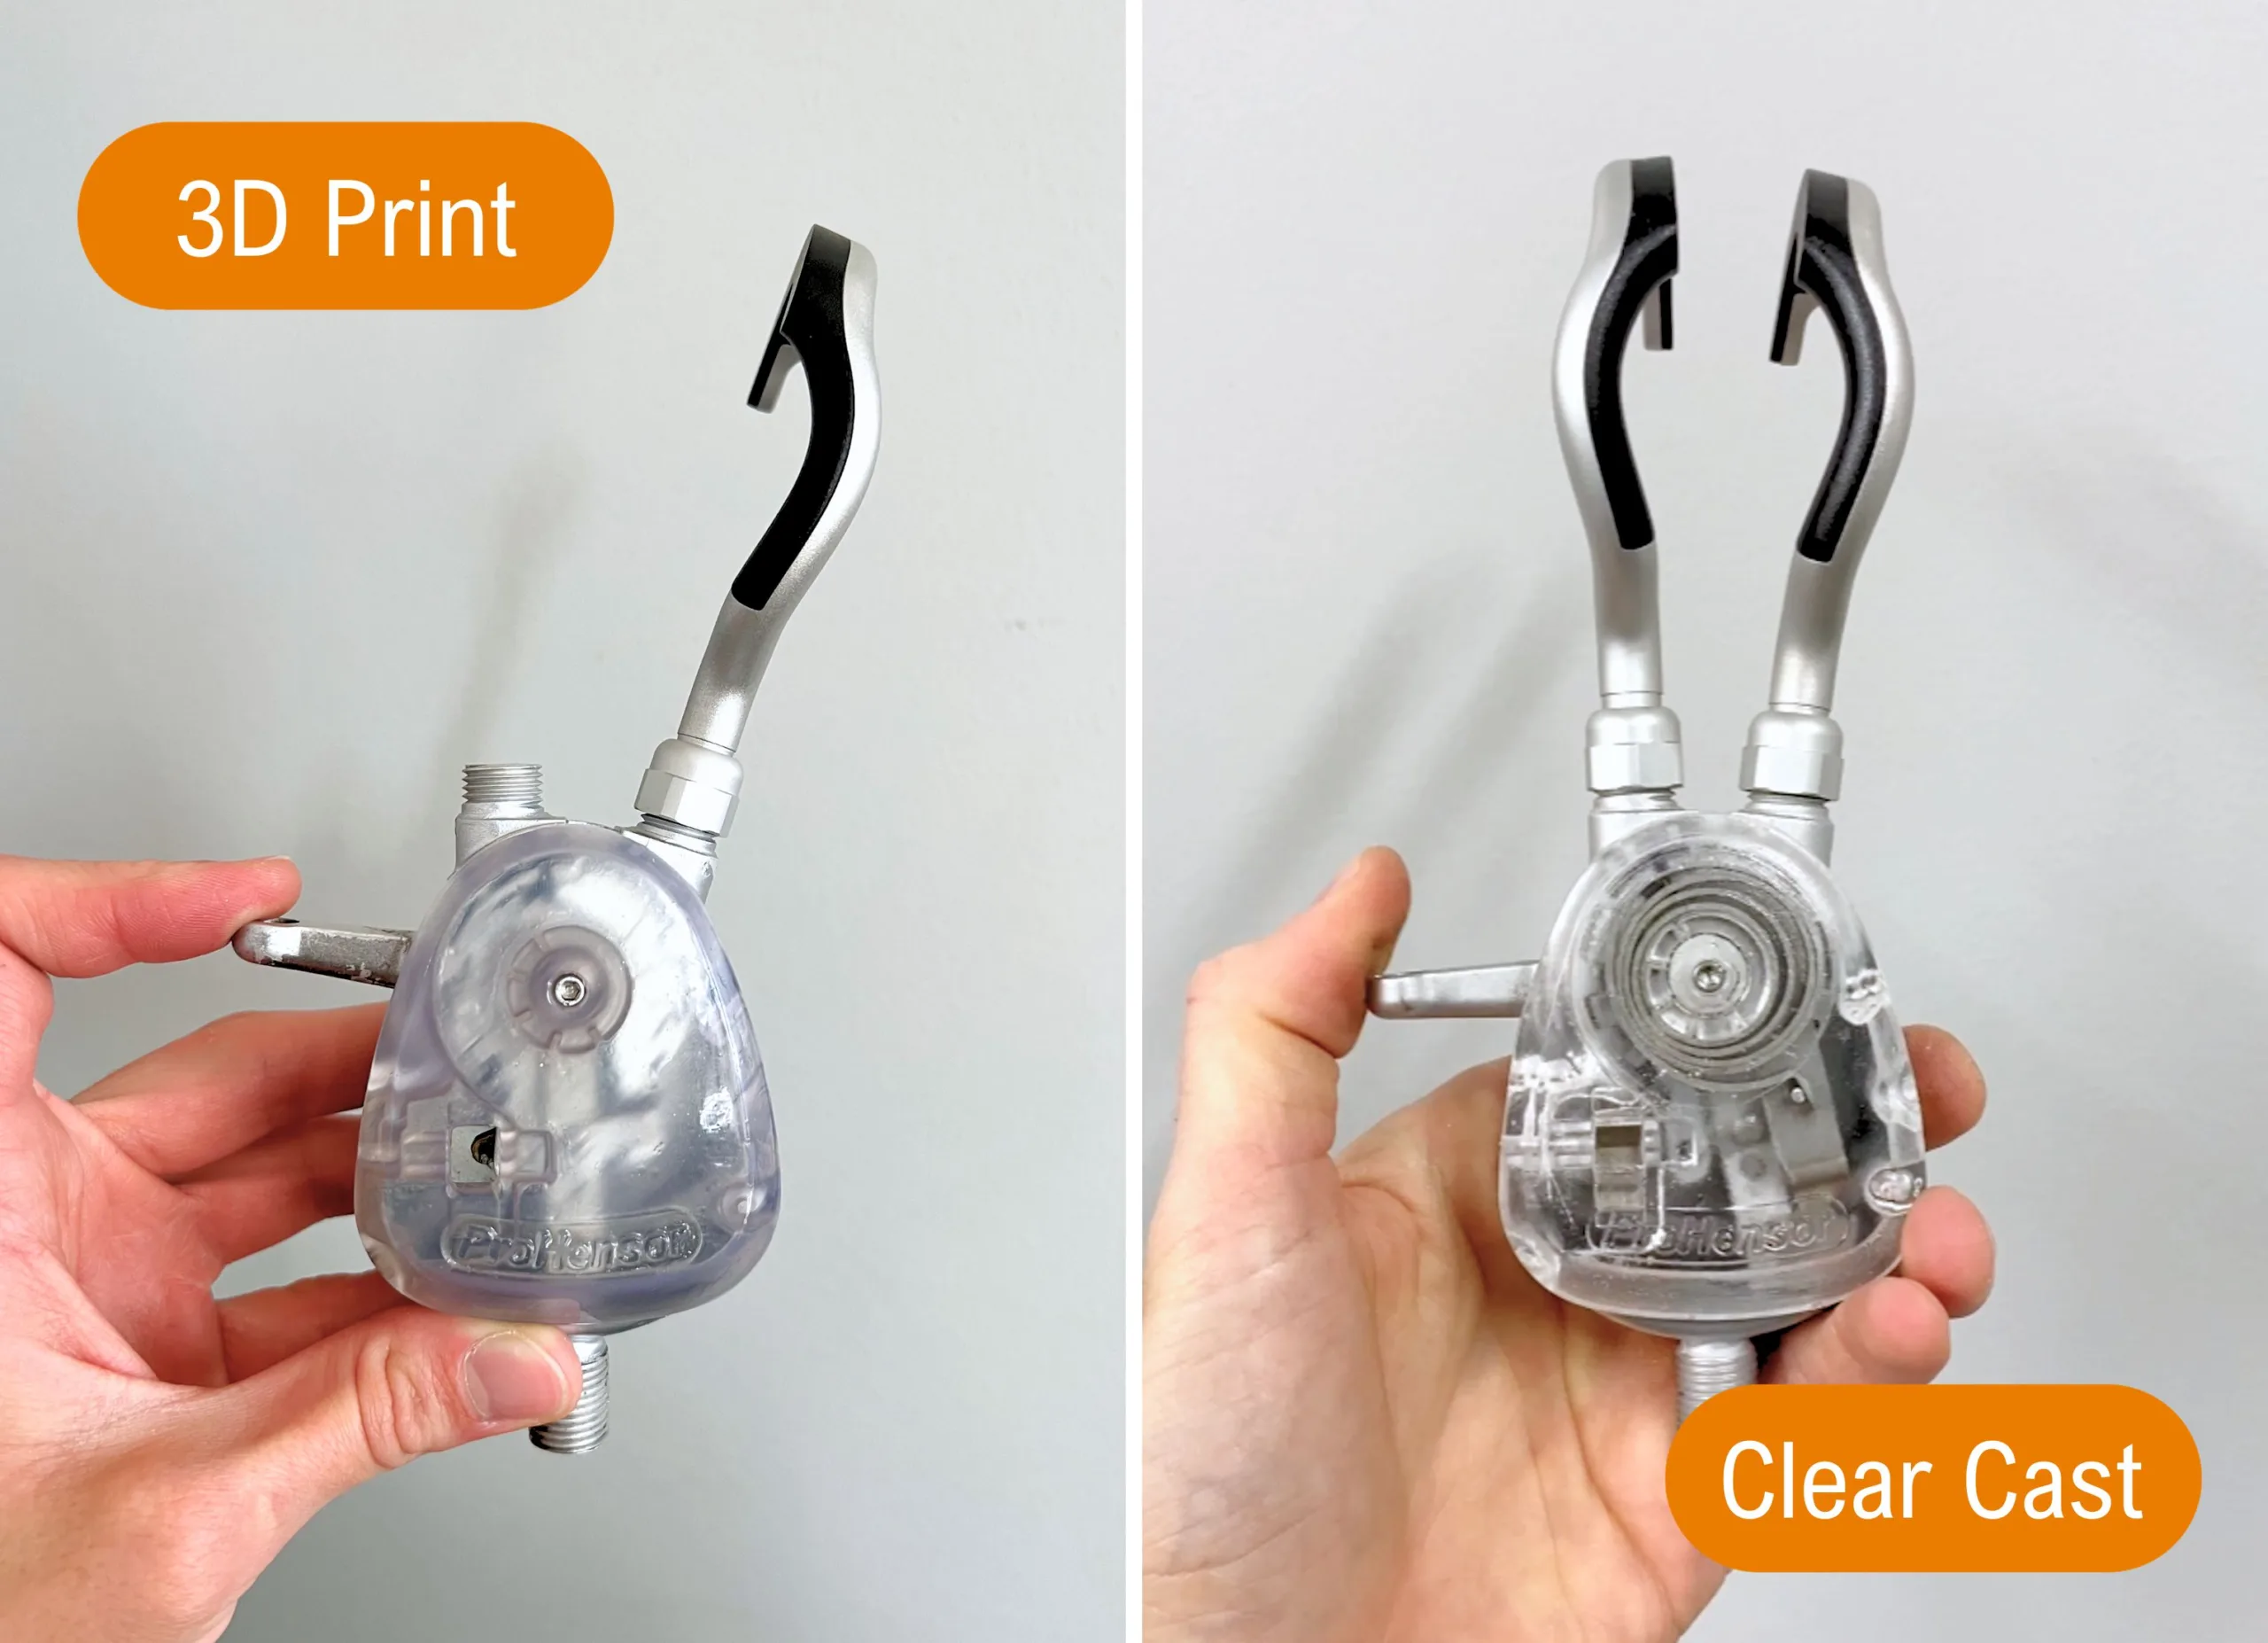
A Look Inside
To showcase the prosthetics’ mechanical guts for analysis, marketing, and just because it’s cool, Root3 worked to fabricate a clear cover of the existing aluminum part to provide a window into the device.
Phase 2: Iterative Medical Device Development
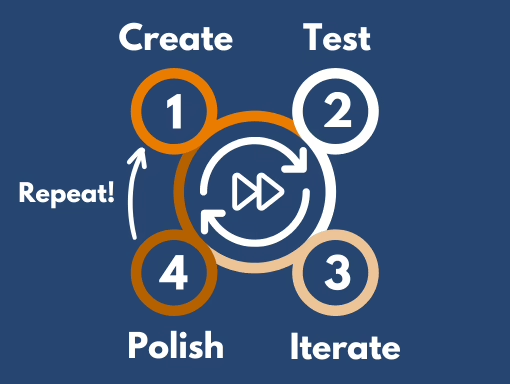
Armed with a better understanding of the device’s basic functionality, we were able to dive into troubleshooting. The best way to approach troubleshooting is to keep it simple and isolate variables. It’s tempting to make sweeping changes all at once, but that can lead to confusion and more problems. So, we made one modification at a time, tested the changes, then documented and evaluated the results.
It’s an effective, if tedious, method.
To accelerate the development cycle, we opted to validate our design changes by modifying parts in-house. This way, instead of waiting weeks for third-party manufactured parts, we could just machine, grind, or swap components same-day.
Rapidly iterating through designs is pivotal to our process, and allows us to get to a solution faster.
Once we confirmed a design modification in-house, we updated the CAD models and ordered low volumes of the modified part from a manufacturer. This allowed us to validate (1) the vendor, given the precision machining requirements and (2) the design, despite inherent manufacturing variability.
This process fully showcased the intricate mechanisms and dependent components. A modification that fixed one aspect of the design often revealed another dependency of that part. It was a test in our investigative skills and persistence. Each new change brought new insights and new challenges, but every iteration got us closer to bringing the whole system together in harmony.
Phase 3: User-Centered Prosthetic Design
While we used lab testing to validate mechanical function, we still needed real-world testing to see if we were truly successful. This is where Darryl’s involvement as the founder became invaluable. As a partial amputee himself, he could provide us with immediate, practical feedback that no amount of engineering analysis could replicate.
One great example of user feedback driving design involved figuring out the grip surfaces for the fingers. The engineering solution seemed straightforward – overmold rubber onto the metal fingers for improved grip. However, cost considerations made overmolding impractical for low-volume production, so we explored alternatives.
One concept involved sliding a rubber sleeve over the base metal finger. In the lab, this seemed promising. Darryl even liked the idea at first!
But, his real-life user testing revealed a drawback we never even considered. “When I reach into my pocket,” he explained, demonstrating the issue, “the rubber on the back of the fingers grips the fabric, and makes it impossible to grab my phone.”
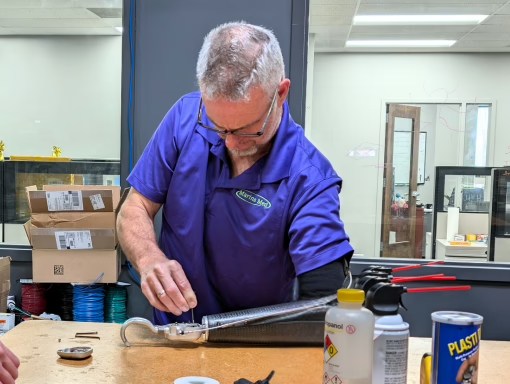
It was an issue that would never have come up in our grip testing, but became immediately apparent in daily use. Based on this feedback we revised the design to strategically place the rubber so that it would provide enough functional grip without the pocket-snagging.
Tip: In prosthetic device development do not ignore the end user. They are the most essential part of the engineering team!
Darryl ended up taking versions of the device home for two-week trial runs that became a cornerstone of our development process. He used the device in his daily life, stress-testing it through normal activities that we could never replicate in the lab.
Follow Marins on Socials!
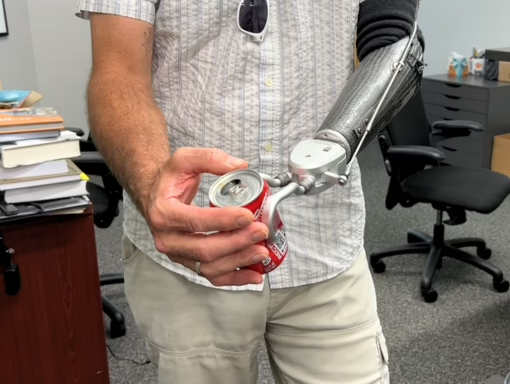
Opening bags of Doritos, crushing soda cans, carrying groceries, biking, working on home projects – every activity Darryl did using the ProHensor provided critical data that helped shape our design decisions. Check out Marins on social media to see some of Darryl’s unbelievable feats in action!
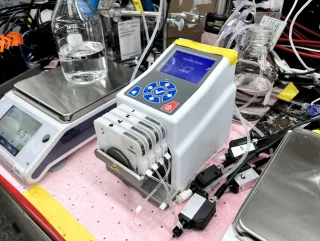
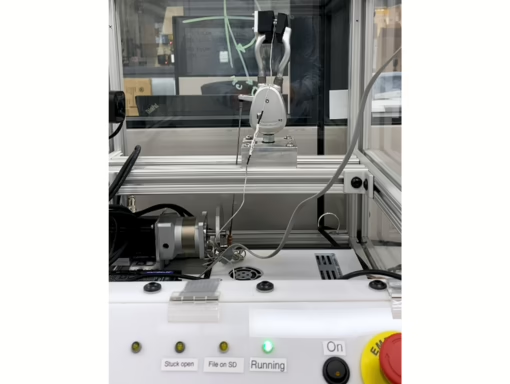
To complement all that real-world testing, Marins partnered with a team of engineering students at the University of Delaware to develop a testing apparatus for cycling the device. With benchtop cycle testing, data on things like lifetime wear or possible failure points could be gathered in a matter of hours.
Based on statistical analysis, we determined we could simulate the life of a device with just under 700 actuation cycles. With a cycle time of about 5 seconds, we validated the functionality of a device over its lifetime with 99% confidence in approximately one hour.
This combination of lived experience and data-driven validation gave Marins the comprehensive testing framework needed for both product refinement and warranty determinations. Darryl’s human insight guided us on what to test, while the structured bench testing provided the quantifiable data needed for business decisions.
Phase 4: Design for Manufacturing (DFM) Transition
Even though we had successfully achieved one functioning prototype, there was still plenty of work to do to get to 10 functioning assemblies of that design. We needed to dial in our specifications for outside manufacturers to be able to fabricate on their own.
There are inherent variations in dimensions when fabricating parts, even in precision machining. And compared to a lot of devices, this one is extremely sensitive to those variations. So, it was critical that we get this aspect of documentation right.
Dealing with precision machining requires a certain amount of trust in your manufacturer. You specify tolerances, finishes, and materials in the drawing, but you rely on the manufacturer to follow these guidelines. A good manufacturer will ask questions and crosscheck the fabricated part against the drawings. If the intent is not captured in the drawings, a manufacturer may choose to make a modification without understanding the full implications of that change.
For example, one of our drawings might specify a sharp internal corner. If that sharp edge wasn’t explicitly highlighted a machinist might round the corner for easier machining, which may cause interference during assembly. Communication through drawings is a balance of capturing the critical details without diluting those details with unnecessary callouts. After all, someone who has never seen the design before has to parse through every detail to understand your intent.
For this project we developed comprehensive documentation with visual aids and established protocols for confirming every specification before production.
The Solution
The Marins Mechanical Prosthetic at a Glance:
1. Hot-Swappable Wear Components
The most revolutionary aspect of this mechanical prosthetic is the swappable cartridge. The wear-prone components were consolidated into user-replaceable cartridges that could be swapped at home.
The custom removal tool for completing this swap was designed for one-handed operation, acknowledging that users might need to perform maintenance with only one hand. Allowing users to service their own devices transformed service downtime from months to minutes!
2. Locking Mechanism Breakthrough
Current body-powered prosthetics come in two varieties: voluntary open (stays closed unless actively opened) or voluntary close (stays open unless actively closed). Neither type typically offers variable locking at different positions.
The Marins refined mechanism fills this gap, allowing users to lock the prosthetic at any degree of closure depending on their needs. This maintained the simplicity and reliability of fully mechanical operation while adding functionality typically reserved for electronic prosthetics.
3. Precision Manufacturing Process
Working closely with Darryl and the Marins team, we created comprehensive assembly documentation that left nothing up to interpretation to set them up for success with their manufacturer. As a result, the device has been consistently manufactured within our 0.0005” tolerance requirements across ten assemblies so far.
The Results - Redefining Mechanical Prosthetic Device Development
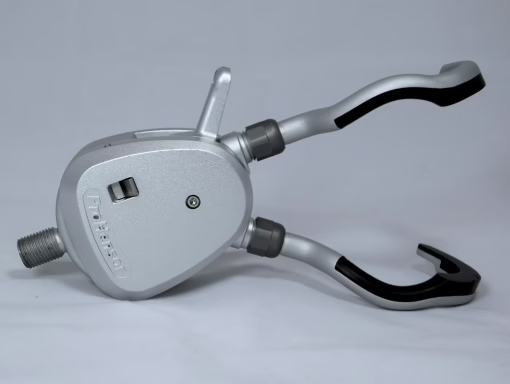
Our collaboration with Marins established new benchmarks for mechanical prosthetic design. We validated that mechanical prosthetics could offer advanced features without sacrificing the simplicity and reliability that users depend on. Moving forward, Marins is positioned for growth while still maintaining the core reliability of their device.
The comprehensive testing data and refinement process have laid the groundwork for insurance approval, opening the path to make this technology accessible to those who need it most.
The Outcomes:
Timeline
- January 2023 to July 2025
- From non-functional prototype to market-ready device
Production
- Successfully manufactured and assembled multiple units for proof of concept and field testing
Precision
- Achieved consistent manufacturing
- Within +/- 0.0005″ tolerances from vendors
User Impact
- Eliminated months of device downtime with user-swappable components
Developing a Medical Device?
Contact Root3 Labs for mechanical prosthetic development, medical device prototyping, and engineering services that put users first.


